How to Make a Christmas Video With AI From a Photo
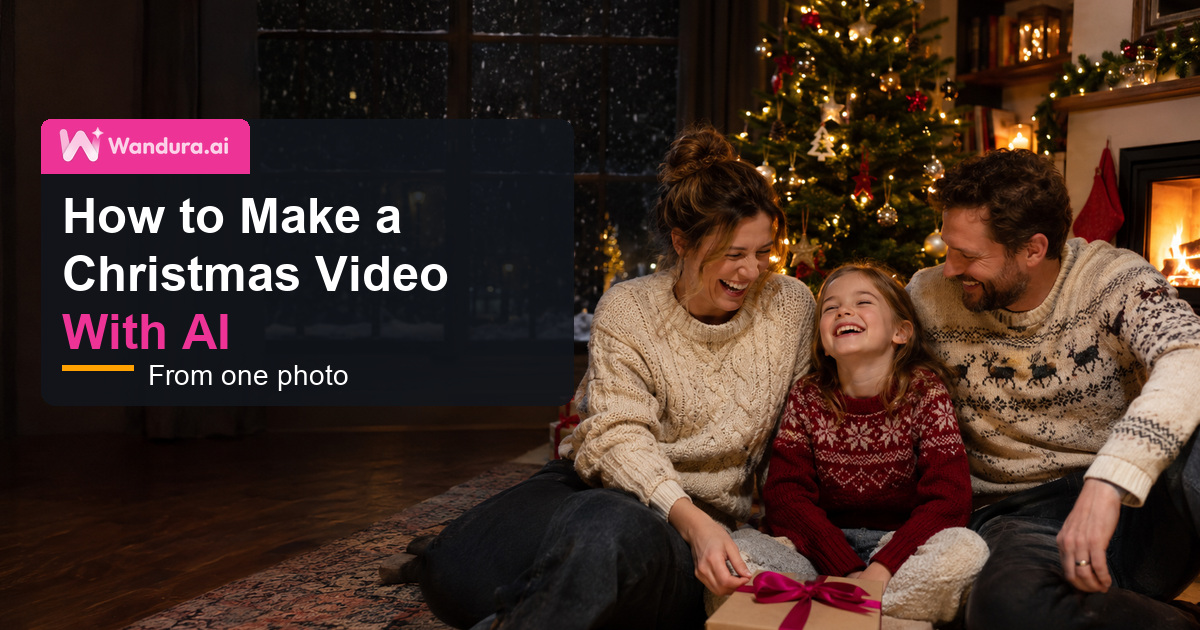
Short answer: Here is how to make a Christmas video with AI in five steps: pick one clear photo, dress it up for Christmas with an AI photo editor or a festive backdrop, bring it to life in Image to Video with a prompt about falling snow and twinkling lights, add music or sound, then join your clips in any video editor and post.
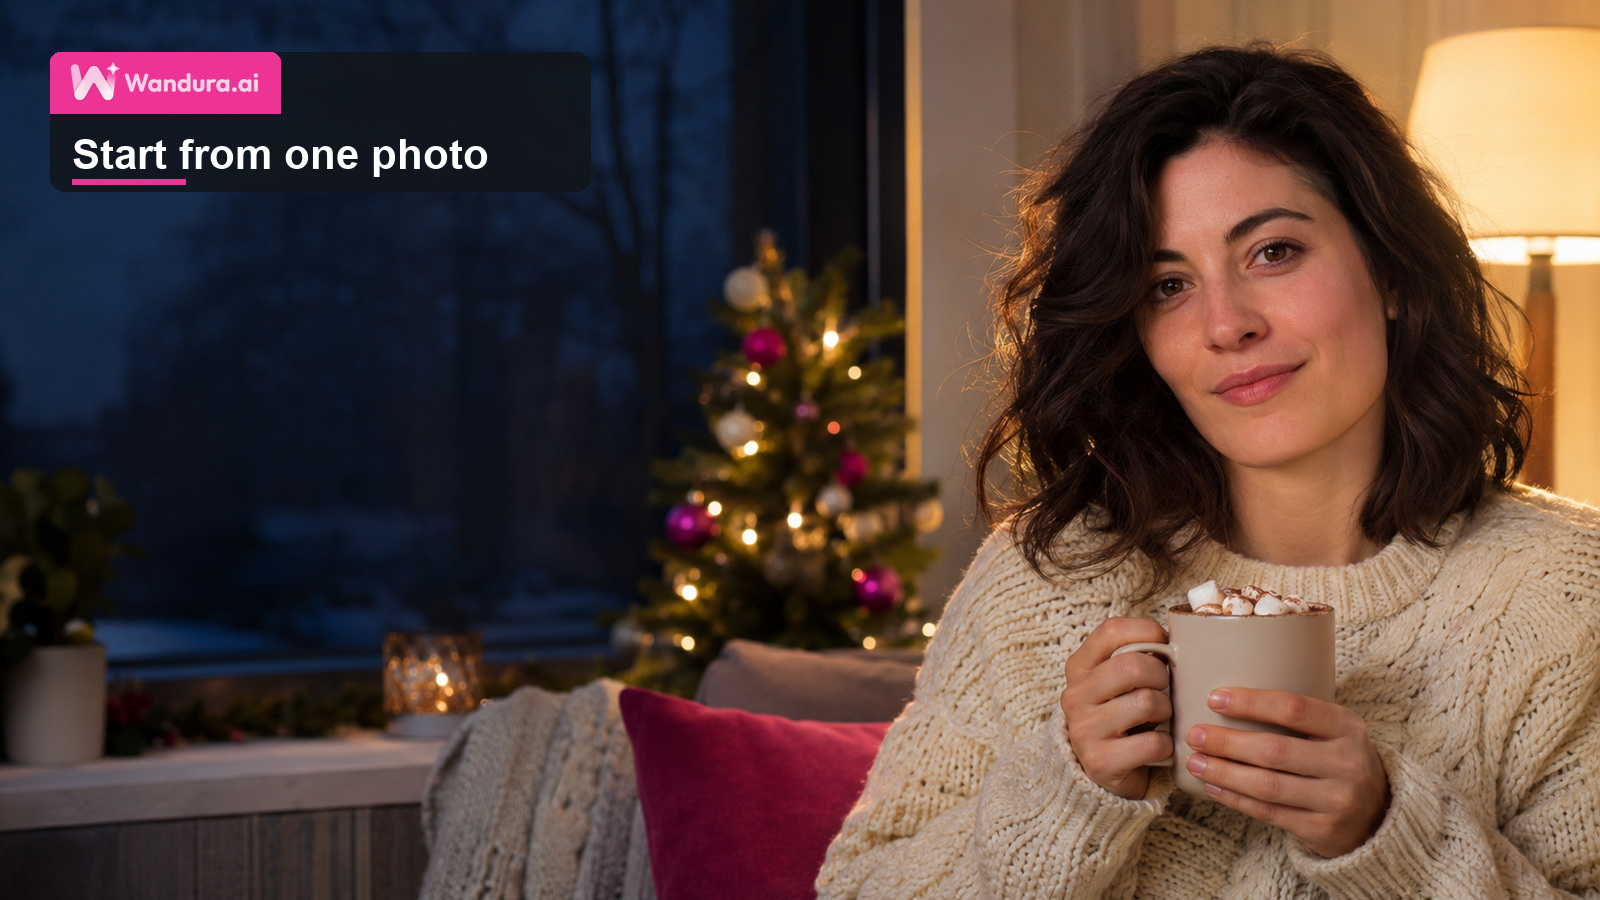
Start with the photo, not the video. Whatever the still looks like is what the clip will look like, so fix the light, the faces and the decorations before you animate anything. Warm lamp light, one or two people and a single clear action give you a much cleaner result than a crowded room.
You do not need a camera crew, a rented set or a family that holds a pose for an hour. One good photo can turn into a few seconds of a cosy living room, snow drifting past the glass and lights blinking on the tree. Each tool below on Wandura AI hands its result to the next one, so nothing you fix early gets lost later. If you followed our Halloween video guide in October, the workflow will feel familiar, only with tinsel instead of fog.
What you need before you start
- One sharp, well-lit photo. Faces should be clearly visible and not too small in the frame. A photo of one or two people is easier to animate than a big group.
- Permission from everyone in the photo (see the section below).
- The shape of your post. Decide where the video will go before you start. For TikTok, Reels and Shorts, start from a vertical photo, so every clip keeps the same frame.
Step 1: Make a Christmas photo
There are three routes, depending on what your photo already has.
Option A: give your own photo a Christmas look. Upload it to AI Photo Editor and type one change, for example "Put a red knitted Christmas jumper on her" or "Add a lit Christmas tree in the corner behind them". Only the part you name gets changed; faces, framing and everything else stay as they were. Ask for a single change at a time: the jumper, then the tree, then the fairy lights, feeding each new version back in for the next instruction.
Option B: change only the background. If the people look right but the room does not, use Background Changer. Your subject stays exactly where it is, pose, edges and lighting included, while the scene behind is rebuilt. The presets are everyday scenes (studio white, office, beach, city street, forest and gradient studio), none of them festive, so choose Custom and write your own: "a cosy living room with a decorated Christmas tree and a fireplace" or "a snowy village street at dusk with warm shop windows".
Option C: make a new holiday portrait. The AI Family Portrait Generator builds a portrait from a description of the people, the setting and the style, and its page lists holiday and greeting cards among its uses. To put your own face into a scene like that, use Face Swap: give it a clear photo of you plus the generated picture. Your face goes in, while the pose, light and hair of the scene remain. Faces in both pictures should be sharp and looking toward the camera.
Want a written greeting in the picture? Make the card as an image with Text to Image with Text. It has a scene prompt for the picture and a separate field for the exact words (up to 120 characters), such as "Merry Christmas from the Lees". Short phrases come out cleanest, so generate a few versions and keep the one where the words read correctly.
Zoom in on faces, fingers and the edges of every added decoration now. A flaw in the photo turns into a moving flaw once it is animated.
Step 2: Bring the photo to life with Image to Video
Your edited photo is already in Creations, so open it straight in Image to Video with no second upload. The picture fixes how everything looks; your short prompt decides what moves.
Skip describing the tree and the jumper, since the photo already shows them. Write the camera move plus one or two things that happen:
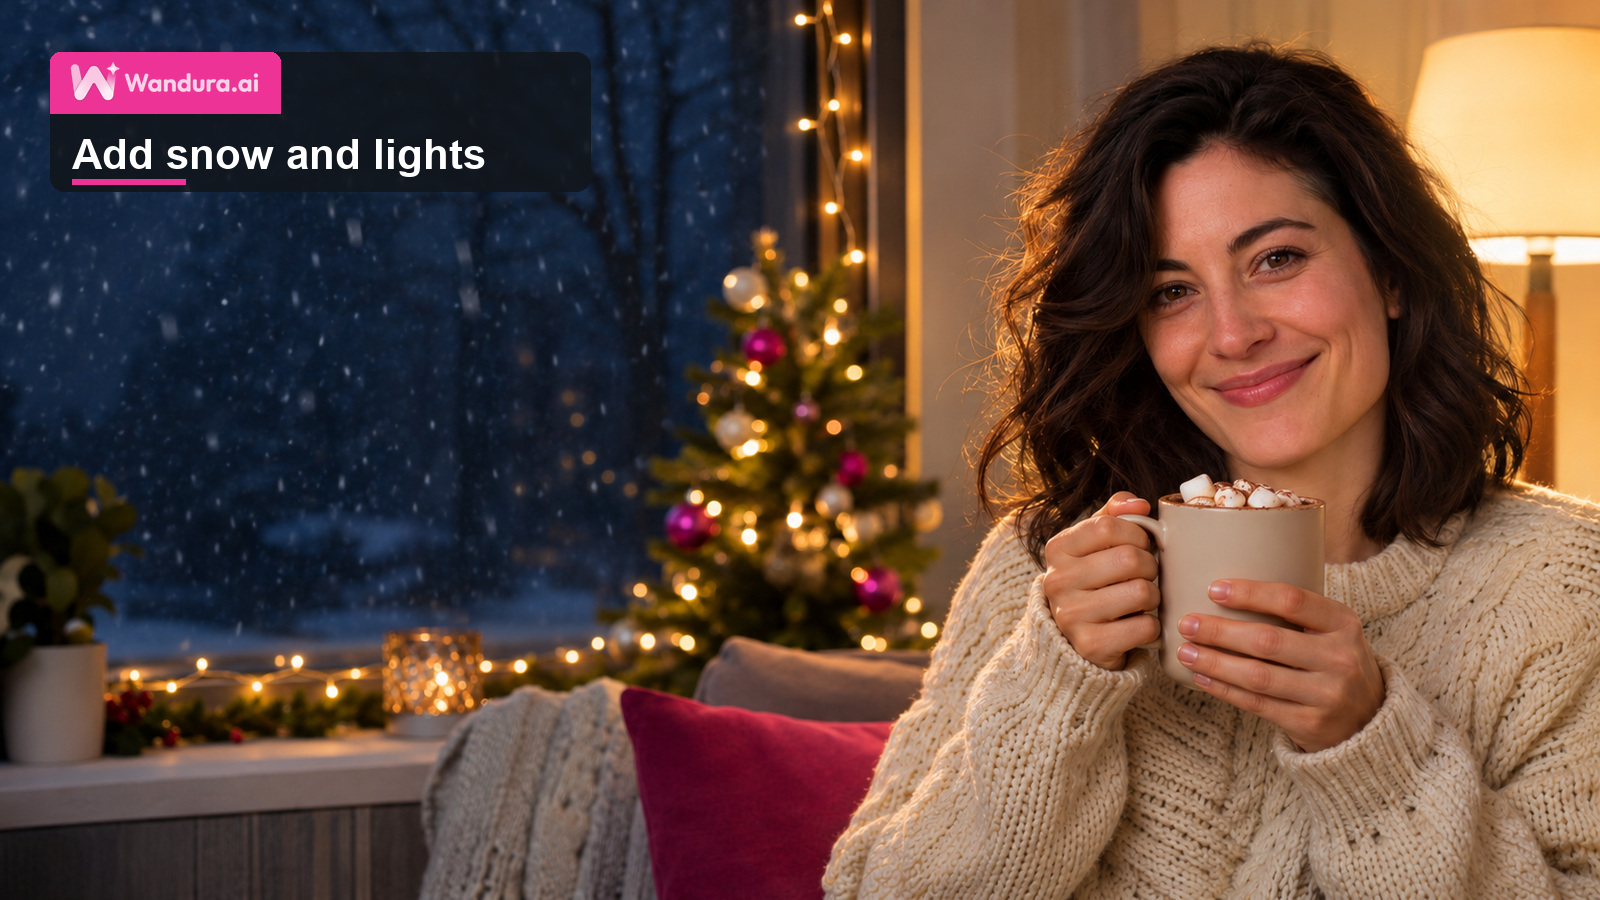
Slow push-in. She lifts the mug, smiles at the camera, snow falls past the window and the tree lights twinkle.
Settings worth checking first:
- Model and length. Kling 3.0 is selected by default and makes 5, 8, 10 or 15-second clips. Lengths, resolutions and the cost differ by model, and the composer lists them before anything is generated. A cheap first pass on Kling 2.5 Turbo is a good way to test a prompt before you run it again on the model you prefer.
- Vertical clips. Kling clips take the proportions of the photo you upload, so a vertical photo gives a vertical clip. On Seedance 2.0 and Veo 3.1 you can choose 9:16 directly.
- Sound. Seedance 2.0 and Veo 3.1 can produce audio together with the picture. On Kling 3.0, sound is an option that is off by default.
- The end of the clip. There is no slot for a final frame in this tool. For a clip that has to land on a second picture, see Step 4.
Step 3: Add music or sound
A Christmas clip feels unfinished without sound. You have three routes:
- Generate the sound with the clip. In Image to Video, pick a model that makes audio, such as the Seedance 2.0 models or Veo 3.1.
- Add sound to a silent clip. The AI Video Sound Generator takes your clip and adds foley, ambience or music that matches what is on screen. Choose a sound type (Foley, Ambience, Music or Auto) and add a short hint such as "crackling fireplace, soft sleigh bells".
- Compose an original track. The AI Music Generator writes a track from a short description, with a choice of five genres (Electronic, Cinematic, Lo-fi, Acoustic and Hip-hop) and an instrumental toggle. There is no Christmas genre, so put the mood in the description: "warm acoustic guitar and soft bells, gentle and cosy, slow tempo".
The AI Video Sound Generator and the AI Music Generator are on paid plans, so check each tool page for the plan it needs. Whatever you use, use only music you have the rights to use: a famous Christmas song you did not license can get your post muted or removed.
Step 4: Build a short story across shots
One clip is a greeting. Three or four clips make a small story. A simple order:
- Opening shot with no people. Type a scene into Text to Video, for example: "A quiet snowy street at night, warm light in every window, slow push-in toward a front door with a wreath." Then choose the model and the clip length.
- The people. Your animated photo from Step 2.
- A transition. If a clip must travel between two exact images, for example from the living room in daylight to the same room at night with the tree lit, use Start & End Frame Video. You choose the first frame and the last frame, and the clip fills in the movement between them.
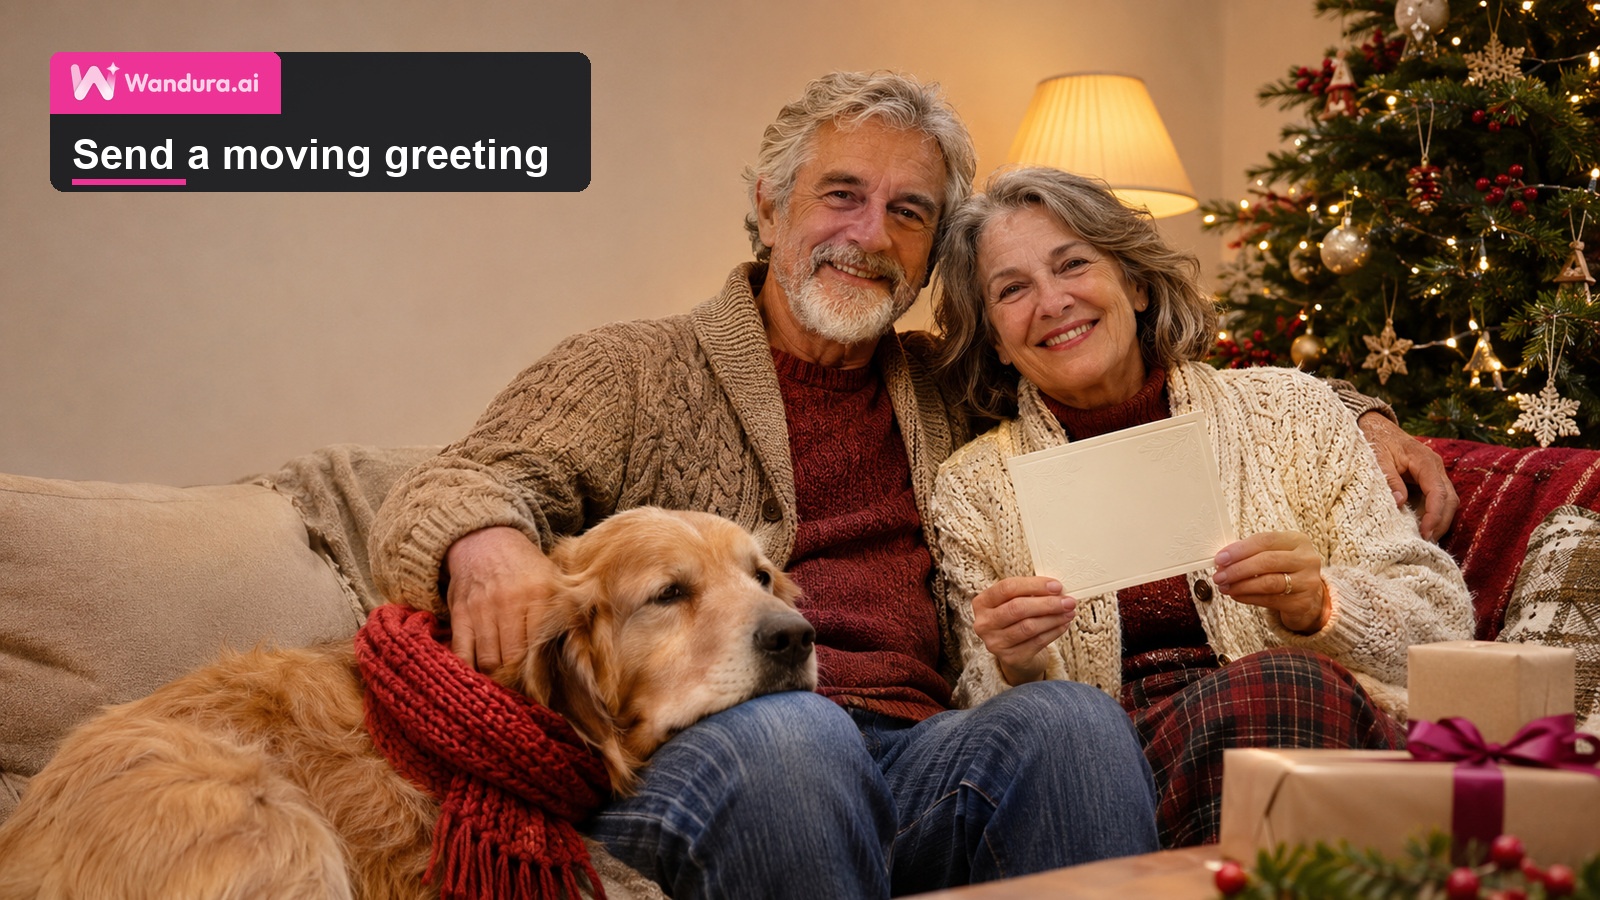
- A closing card. Your greeting card from Step 1, animated with a gentle push-in.
If the same person appears in several shots, AI generations can drift from one clip to the next. Start every shot from the same photo or the same edited still, and read our guide on keeping a character consistent in AI video.
Step 5: Put the clips together and post
Polish each clip from your Creations first, in this order:
- A longer hold first: the Video Extender continues a clip from its last frame by 4 to 8 seconds, following a prompt for what happens next, which is handy for a lingering final shot. The extended clip comes out at up to 720p.
- A sharper picture second: the Video Upscaler re-renders each frame at a higher resolution, so run it after extending.
Both are on paid plans. Then line the clips up in any video editor or your phone's editing app, add your music if it is a separate track, and export one video. If you are new to AI video in general, our beginner's guide to making an AI video covers the basics.
Christmas motion prompt ideas
Paste any of these into Image to Video, then swap in the people and objects from your own photo:
- Slow push-in, snow falls past the window and the tree lights twinkle softly.
- Static shot, the little girl tears the wrapping paper and gasps at the gift.
- Slow pan right along the mantelpiece, candles flicker and the stockings sway slightly.
- Slow pull-back from the dog wearing a red scarf, who tilts its head at the camera.
- Static shot, warm light, he hangs the last ornament and steps back to look at the tree.
Keep one or two actions per clip.
Ideas by use
Family greeting. A clip of the family by the tree, then a closing card with your names.
Pet. Add a scarf or a hat with AI Photo Editor and animate a head tilt or a tail wag.
Small shop. Turn a product photo into a short holiday ad with the Photo to Video Ad Maker: a gift box on a table with fairy lights, a slow orbit and a light sweep. For planning a whole season of product clips, see our guide to Black Friday product video ads with AI; the same steps carry over to Christmas.
Ask before you use someone's photo
Stick to pictures of yourself and of people who said yes. Check with relatives and friends before their faces go into a video you share, be extra careful with pictures of children, and leave strangers and public figures out. The same goes for characters and logos you do not own: make your own Santa, your own snowman and your own wrapping-paper patterns.
Frequently Asked Questions
What are the steps to make a Christmas video with AI?
Pick one clear photo and give it a festive look in AI Photo Editor or Background Changer. Bring it to life in Image to Video with a short prompt about falling snow or twinkling lights. Then add music or sound, line the clips up in any video editor and post.
Can one photo become a whole Christmas video?
Yes. A single sharp picture where every face is easy to see is all you need to begin, because Image to Video starts from one image. Once that clip works, you can add more shots, such as an opening scene made with Text to Video.
Does Wandura AI have a ready-made Christmas effect?
Not right now. None of the presets in the effects gallery are made for Christmas, so you create the festive look yourself in AI Photo Editor or Background Changer and then animate it in Image to Video.
Can I add a "Merry Christmas" message to the video?
Yes, in two ways. Make a greeting card as an image with Text to Image with Text, which has a separate field for the exact words, then animate it with Image to Video. Or add the text in the video editor where you join your clips. Check that the words read correctly before you post.
What does a Christmas video cost on Wandura AI?
You pay in credits, and the amount changes with the tool, the model and settings such as clip length and resolution. You see the price in the composer before anything is generated. New accounts get free credits on signup to try Wandura AI, and until you move to a paid plan every image and video carries a wandura.ai watermark.
Keep reading
How to Keep a Character Consistent in AI Video, Shot by Shot
Start creating with 70+ AI models
One account, one credit balance, every model. Pay only for what you generate.
See pricing