How to Make a Halloween Video With AI: From Costume Photo to Short Clip
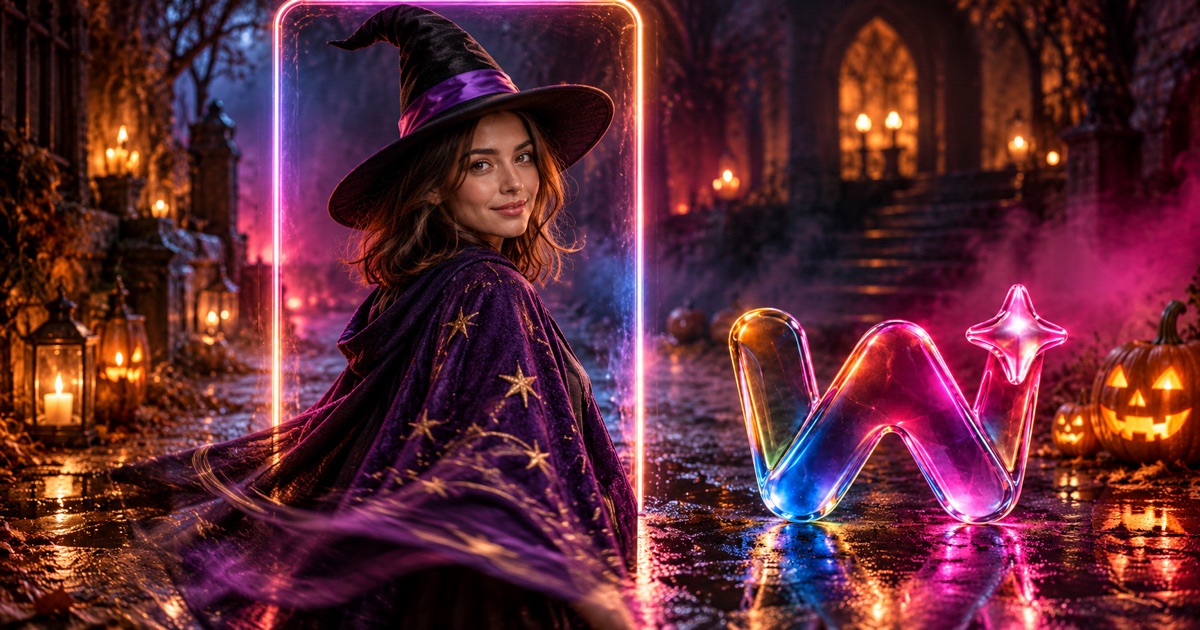
Short answer: To make a Halloween video with AI, start from one photo: put a costume on it with an AI photo editor, then animate the costume photo with Image to Video by describing the motion. Add a 360° orbit to show the whole outfit, and an optional spooky opening shot made from text.
The rule that saves the most time: get the still photo right first. Every video step keeps the look of the photo you give it, so a weak costume photo becomes a weak clip.
A Halloween video does not need a costume shoot or a camera crew. With AI, one clear photo is enough to get a short clip of you in costume, moving, with fog and pumpkins behind you. The method below uses four tools on Wandura, one after another, and each step keeps what the previous step made.
You need one sharp, well-lit photo with your face clearly visible, and a costume idea in one line, such as "a witch in a purple cloak and a pointed black hat".
1. Make the costume photo
There are two ways to get a still of you in costume. Pick the one that fits your photo.
Option A: put the costume on your own photo. Upload the photo to AI Photo Editor and type the costume as one instruction: "Put her in a purple witch cloak and a pointed black hat." The editor changes what your instruction describes and keeps your face, the framing and the rest of the photo. One change per run works well, so add the outfit first, then the makeup, then anything else, and send each result back into the editor for the next change. For more costume wording, see these AI Halloween costume prompts.
Option B: put your face into a costume scene. If your photo does not suit a costume (a busy background, the wrong pose), make the whole scene first. Generate it with Text to Image, for example "a werewolf hunter in a long coat on a foggy street at night, one clear front-facing face". Then open Face Swap, add a clear photo of your face and the generated scene. The swap keeps the scene's pose, lighting and hair and replaces the face. Both images need a clear, front-facing face.
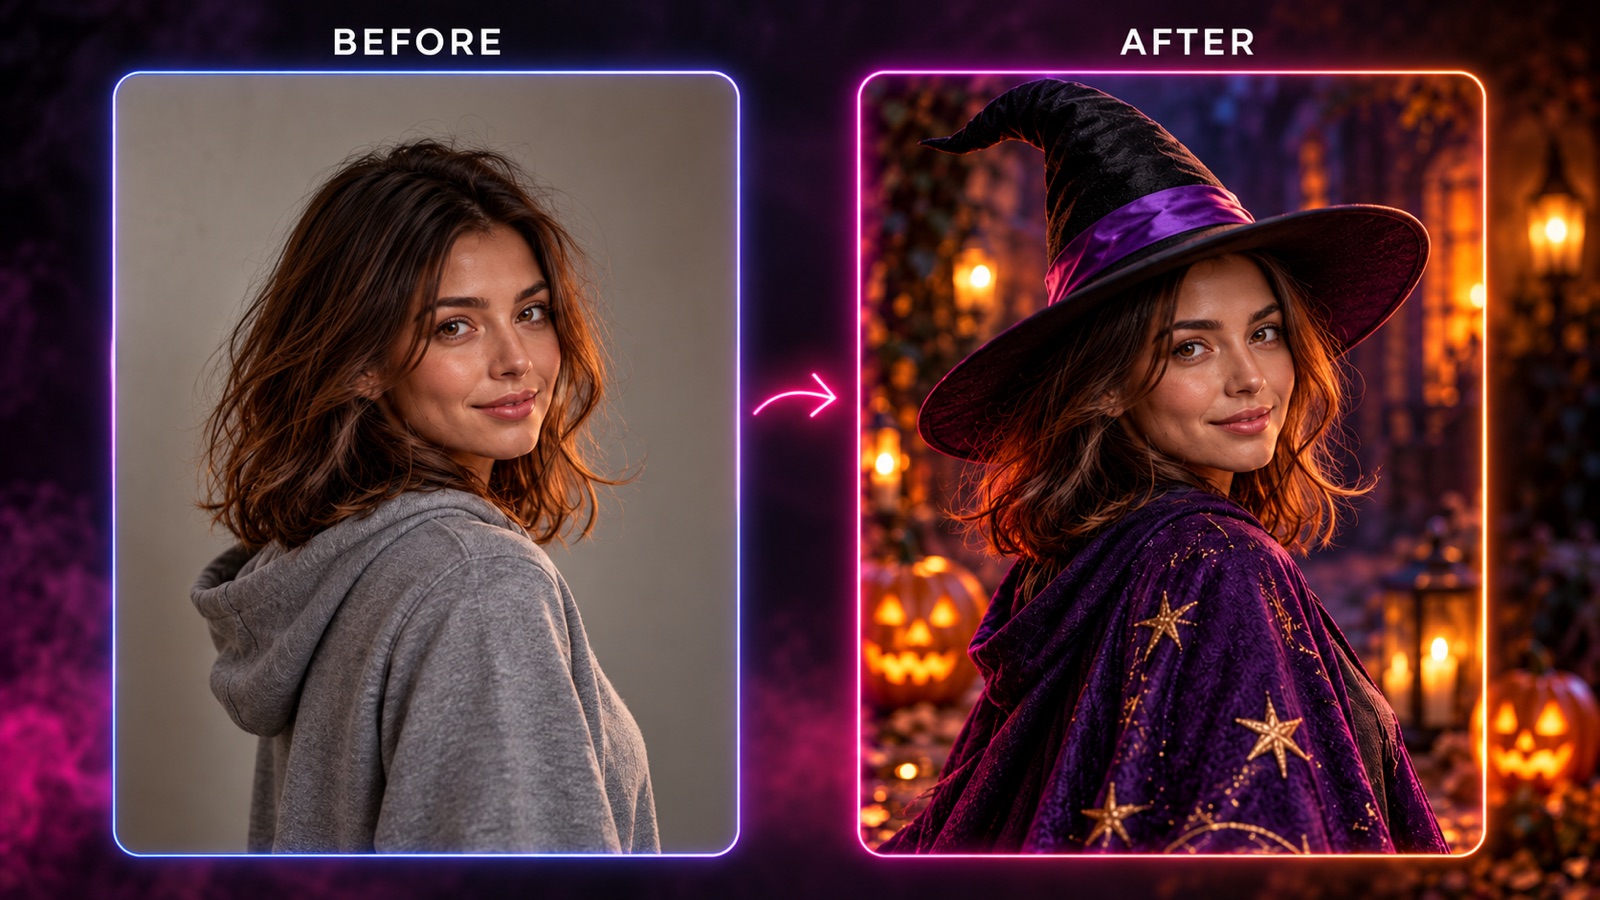 Same face, same framing, new costume: one instruction per edit.
Check the face, the hands and the costume edges before you move on: whatever is wrong in the still will move in the video.
2. Animate the costume photo with Image to Video
Send the costume photo from your Creations to Image to Video without uploading it again. The tool keeps the look of your picture and adds movement from a short motion prompt.
Describe the movement, not the picture: the photo already shows the costume. Name the camera move and one or two actions:
Slow push-in. She turns toward the camera, smiles and raises the broom while fog drifts past at her feet.
A few things to know before you press Generate:
- Model and length. Kling 3.0 is selected by default. Each model shows its own lengths, resolutions and options in the composer, with the cost shown before you create. You can draft on a faster model, then re-run the prompt that works on the model you want.
- Vertical clips. The Kling models follow the shape of your photo, so start from a vertical photo, or pick 9:16 on the Seedance or Veo models.
- Sound. The Seedance 2.0 models and Veo 3.1 generate audio with the clip. Kling 3.0 has a Sound option that is off by default and costs more when you turn it on.
- The end of the clip. Image to Video has no end-frame slot. If the clip must finish on a second image, use Start & End Frame Video.
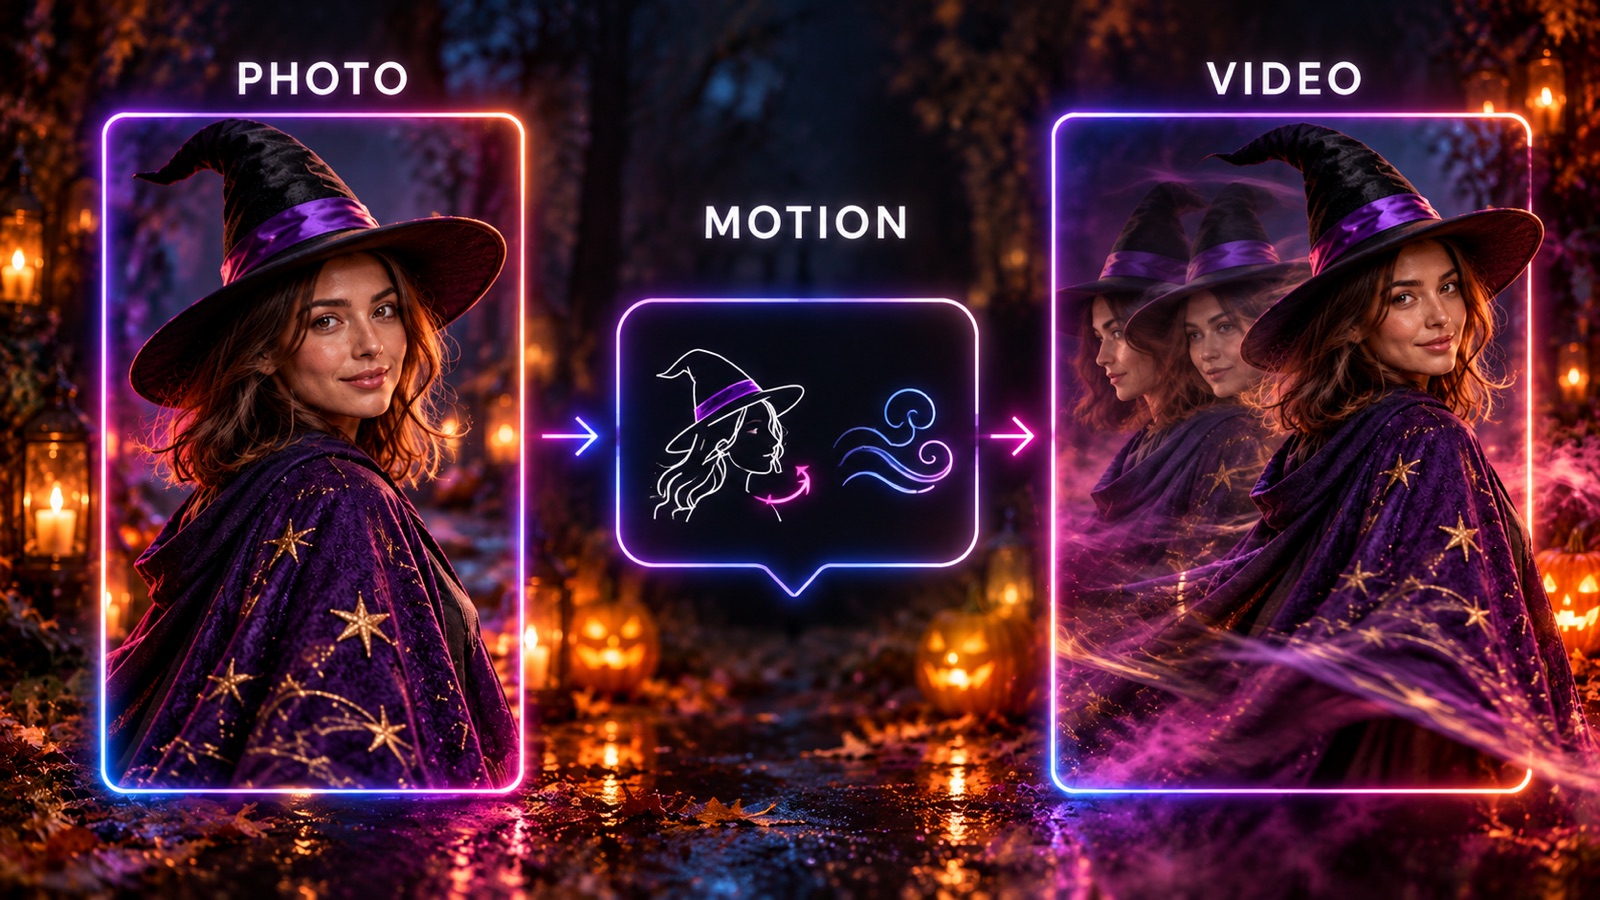 The photo sets the look. The motion prompt only says what moves.
3. Show the whole costume with the 360° Rotation effect
To show the outfit from every side, upload the costume photo to the 360° Rotation effect. It turns one photo into a smooth orbit around the subject, who stays frozen in place, and your face and outfit stay consistent all the way around. There is no prompt to write: the camera move is fixed, and you pick a 5s or 10s clip.
The photo decides the result:
- A plain background right behind you. A busy background is the most common reason the orbit fails, because the effect has to invent what it cannot see.
- One person, roughly centred, with even light. Heavy crops, motion blur and overlapping people break the geometry.
So for the 360° clip, use the costume photo with a simple background, and save the spooky background for the Image to Video clip.
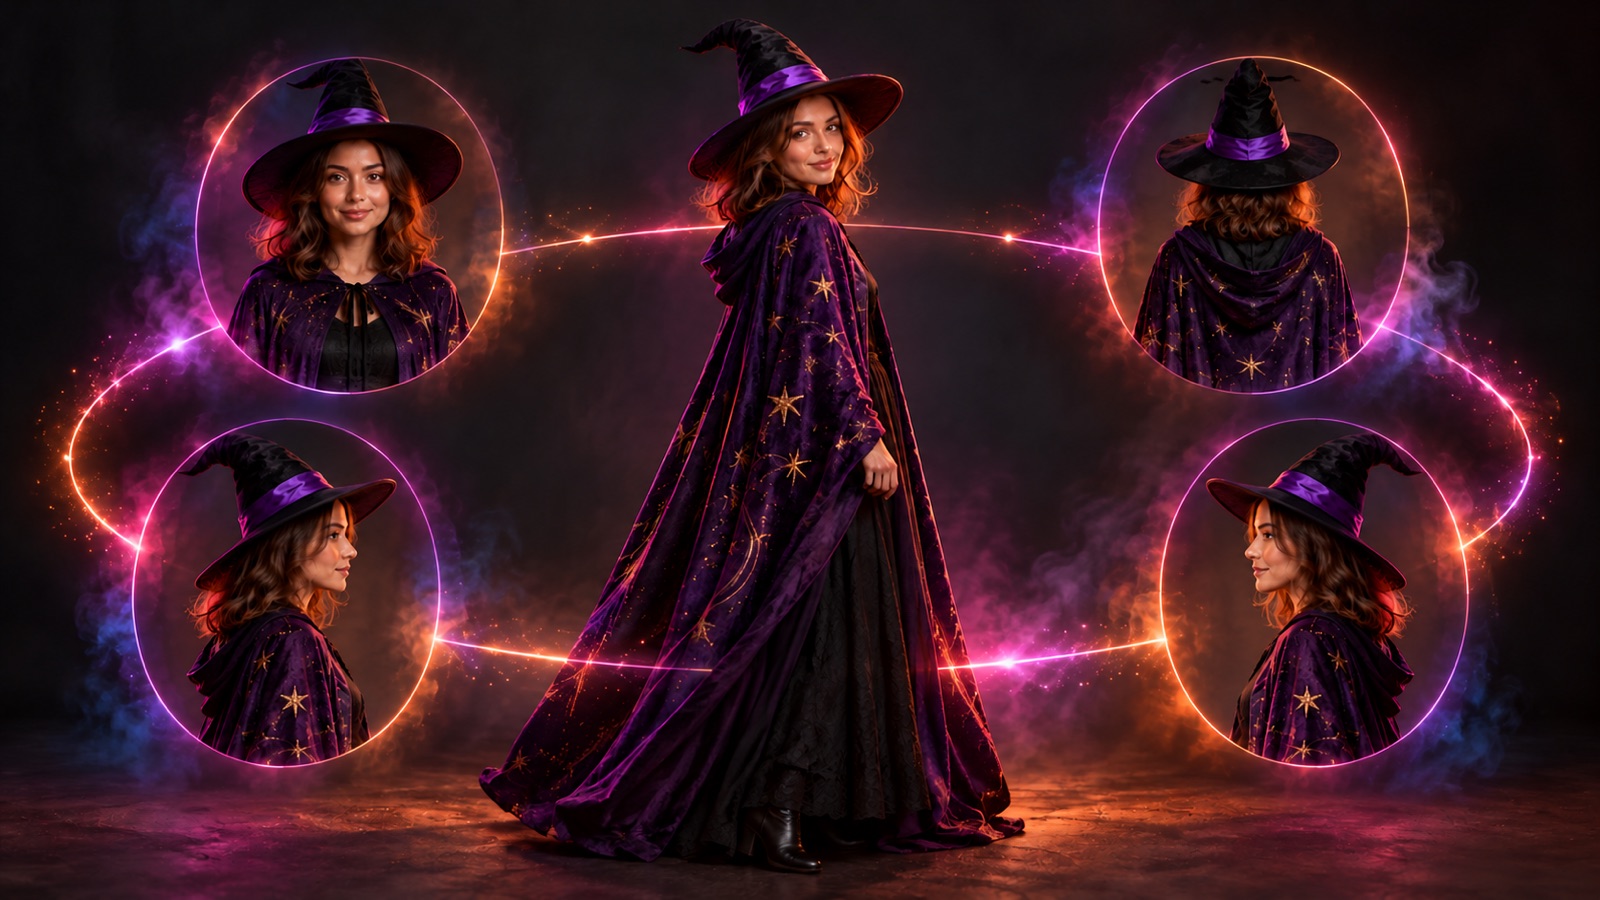 A plain background behind the costume gives the orbit less to invent.
4. Optional: a spooky background and an opening shot
Change the background. Background Changer keeps the person in front, with the same pose, edges and lighting, and replaces everything behind. The presets are everyday scenes, so choose Custom and describe your own: "a pumpkin patch at dusk lit by jack-o'-lanterns" or "a candlelit hallway in an old mansion". Then send the result to Image to Video.
Add an opening shot. A clip with no people in it makes a good first beat. In Text to Video, write the scene, the action and the camera move: "A foggy pumpkin patch at night, jack-o'-lanterns flicker one by one, slow push-in toward an old wooden gate." Pick a model and a duration in the composer.
5. Put the clips together
Join the clips in order (opening shot, costume clip, 360° orbit) in any video editor or your phone's editing app. From a finished clip in your Creations, you can still upscale it, extend the shot or add AI sound effects before you post. If you want to tell a short story next, see how to make a 30-second AI action film or our guide to making a short film with AI. If you are selling something this season, see how to plan seasonal video ads for Black Friday.
Halloween motion prompt ideas
Copy one into Image to Video and change the details to match your photo:
- Slow push-in, she lifts the pointed hat and winks at the camera.
- Static shot, the vampire slowly opens his cape as candlelight flickers.
- Slow pan left, fog rolls past the jack-o'-lanterns and their flames grow brighter.
Use photos you have permission to use
Use photos of yourself or of people who have agreed to it. Ask a friend before you put their face in a costume or a video, and do not use photos of strangers or public figures.
Frequently Asked Questions
How do I make a Halloween video with AI?
Make a costume photo first, either by editing your own photo with AI Photo Editor or by swapping your face into a generated scene with Face Swap. Then animate it with Image to Video by describing the motion, and use the 360° Rotation effect if you want to show the whole outfit.
Can I make a Halloween video from one photo?
Yes. One sharp photo with your face clearly visible is enough. Put the costume on it, then animate it with Image to Video or turn it into a 360° orbit. Both tools start from a single image.
Is there a one-tap Halloween effect on Wandura?
Not at the moment. The effects gallery has no Halloween preset, so you write the look yourself in AI Photo Editor, then animate the photo with Image to Video or the 360° Rotation effect.
How do I show my whole costume in a video?
Upload the costume photo to the 360° Rotation effect. It orbits around you while you stay frozen. Use a photo with a plain background right behind you, one person, roughly centred and evenly lit.
Can I use a friend's photo?
Only with their permission. Use photos of yourself or of people who have agreed to it, and do not use photos of strangers or public figures.
How much does a Halloween video cost on Wandura?
Each tool charges credits, and the cost depends on the tool, the model and the settings you pick. The composer shows the price before you create. New accounts get free credits on signup to try Wandura.
Keep reading
How to Keep a Character Consistent in AI Video, Shot by Shot
How to Make a 30-Second AI Horror Film: Silence, Knock, Choice
Start creating with 70+ AI models
One account, one credit balance, every model. Pay only for what you generate.
See pricing