How to Storyboard a Script With AI, Shot by Shot
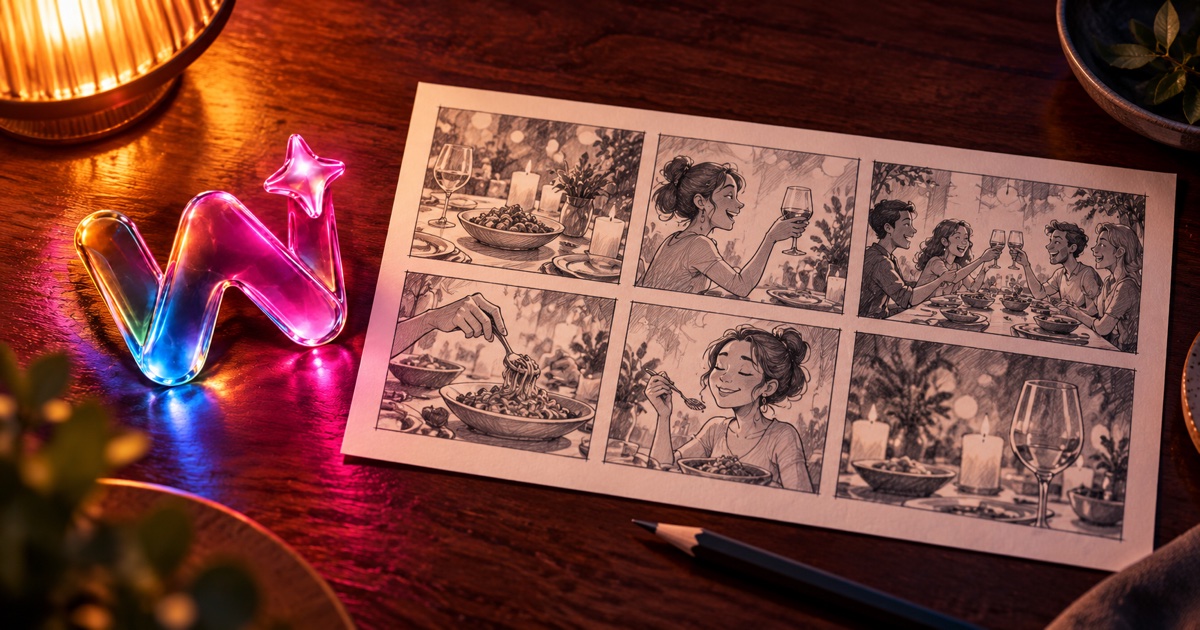
Short answer: To storyboard a script with AI, break it into scenes, list the shots each scene needs, generate one frame per shot with your characters kept consistent, review the frames, and only then turn the approved scenes into video. In Wandura, Drama Studio does this from a script you paste, write or upload.
Why bother: a wrong frame costs you a quick look. A wrong video costs you a regeneration.
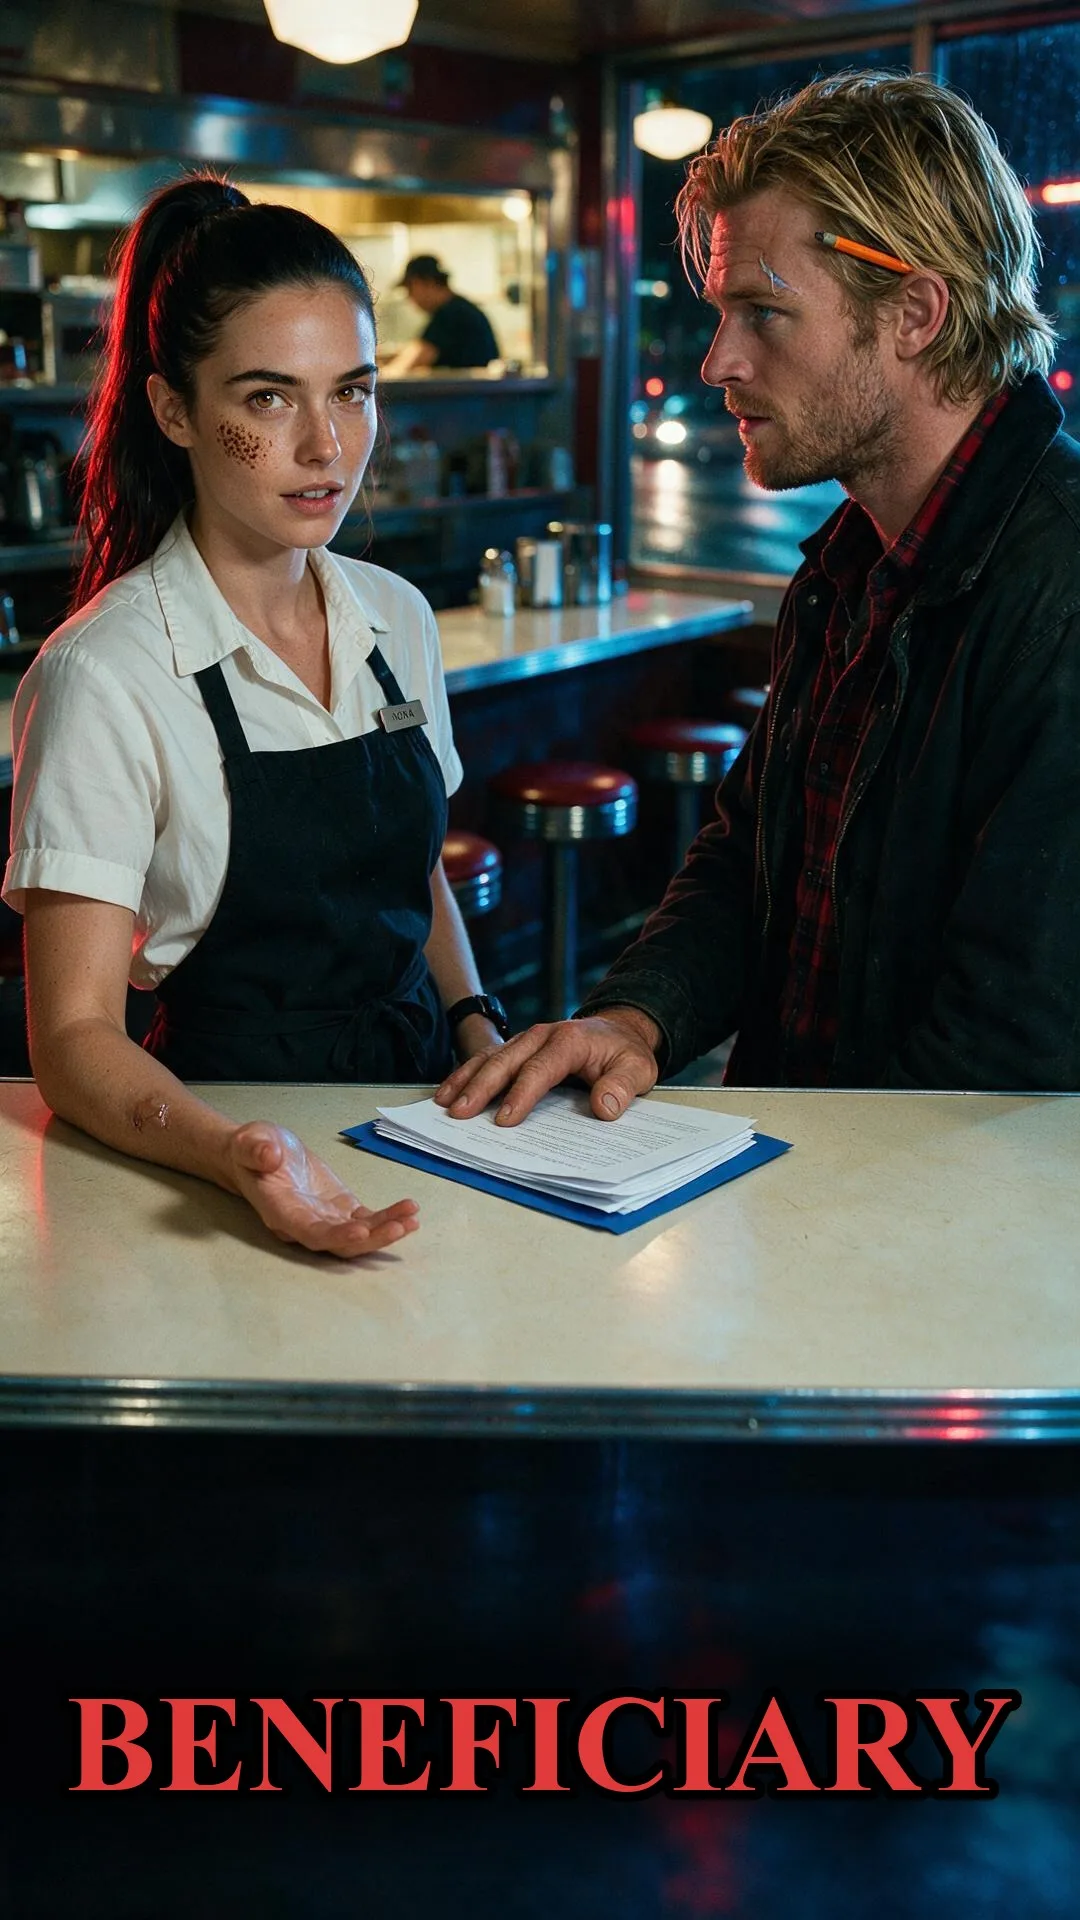 Poster for Beneficiary, one of the sample stories in Drama Studio.
A storyboard is a script drawn as a sequence of frames, one frame per shot. Film crews have used them for decades because they answer a simple question before anyone spends time or money: does this scene actually work when we see it?
With AI video the question matters even more. Generating video takes credits and time, so you want to find the weak scene at the frame stage. This guide shows how to storyboard a script shot by shot, with or without Wandura. For the whole process from story idea to finished film, see our guide to making a short film with AI.
1. Start from a script that is ready to split
A storyboard is only as clear as the script behind it. Before you generate anything, check that every scene has:
- A place and time (for example, a kitchen at night).
- The people in it, named the same way every time.
- One change: something is revealed, decided or lost by the end of the scene.
If a scene has no change, cut it or merge it into the next one. You will save yourself frames.
Wandura's storyboard step starts in Drama Studio. You paste or write the script, or upload it as a PDF, DOCX or TXT file, and Drama Studio splits it into episodes and scenes.
2. Turn each scene into a shot list
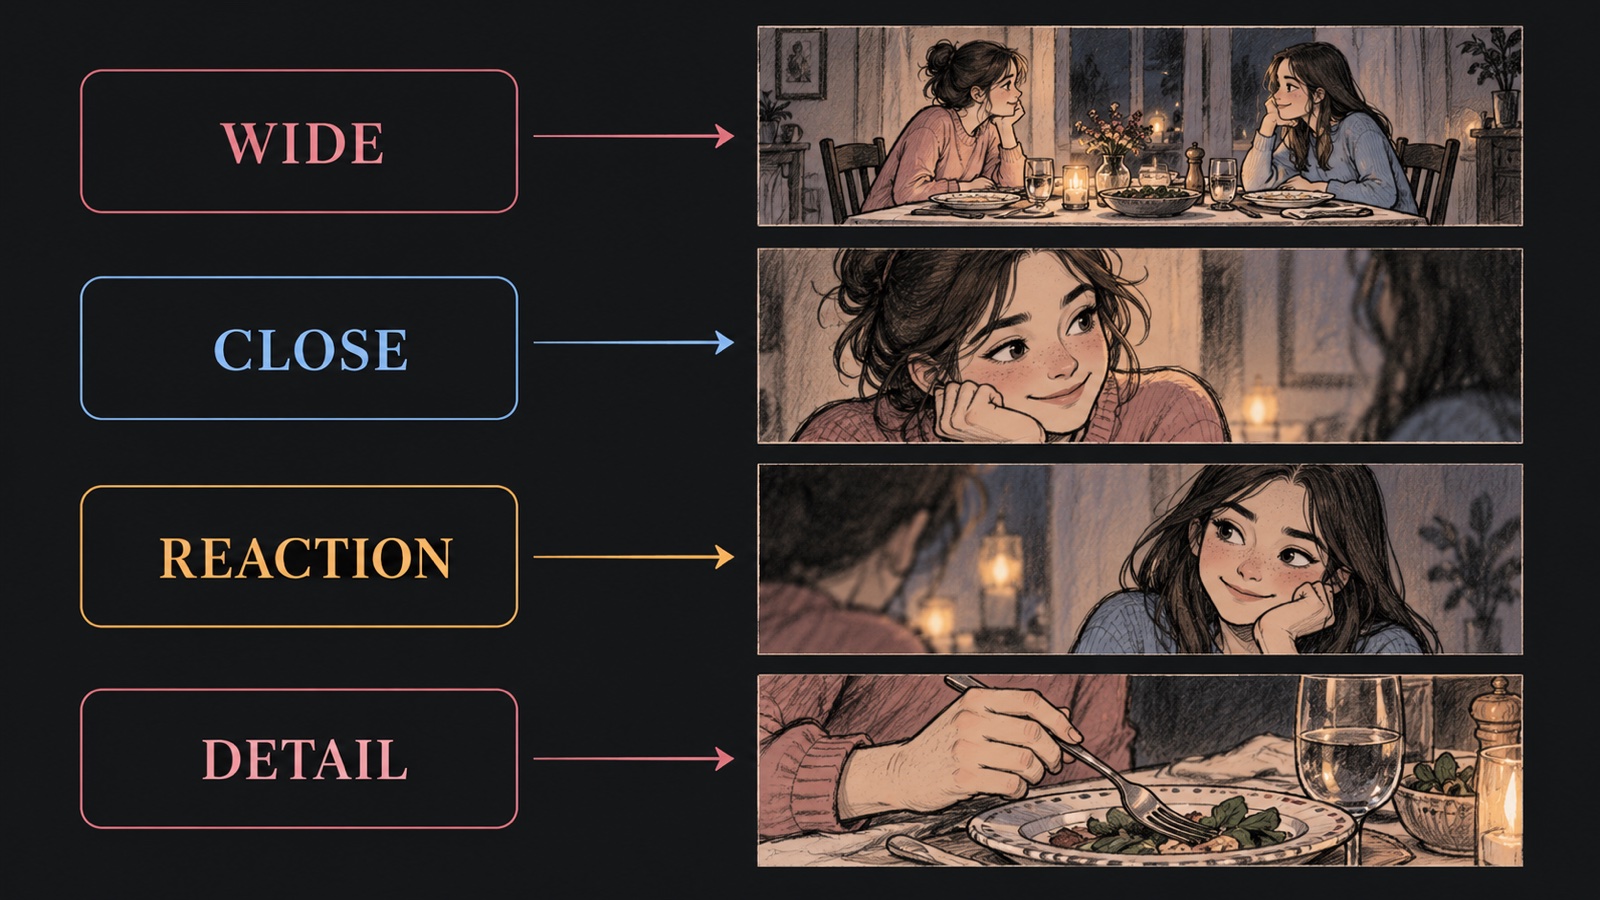 A four-line shot list turned into four storyboard frames of a dinner-table scene.
A shot list is the bridge between script and storyboard. For each scene, write one line per shot:
| Shot | What we see | Why it is there |
|---|---|---|
| 1 | Wide view of the room | Tell the audience where we are |
| 2 | Close on the speaker | Give the line weight |
| 3 | Reaction of the listener | Show the effect of the line |
| 4 | Detail of the object that matters | Plant something for later |
You do not need film jargon to do this. "Wide", "close" and "detail" are enough. What matters is that each shot has a reason. If you cannot say why a shot exists, it probably should not.
3. Keep the same characters in every frame
A storyboard where the lead looks different in every panel is useless for judging a scene. Decide each main character's look once, and reuse it.
In Drama Studio you build your cast before storyboarding: you lock a character's look once, and it is reused across the storyboard. Write down each character's main look (age, hair, signature clothing) in a few words, so you can check the frames against it.
4. Generate one frame per shot
This is the part AI changes the most. Instead of drawing every panel by hand, you generate frames from the script and your locked characters.
In Drama Studio, each scene is drawn as a storyboard sheet with one panel per shot. You do not need to draw. A few things to know about the format:
- Each storyboard sheet is 16:9.
- The panels follow your project's ratio, which is 9:16 by default.
For a closer look at the tool itself, see our storyboard AI generator page.
5. Review the frames like a director
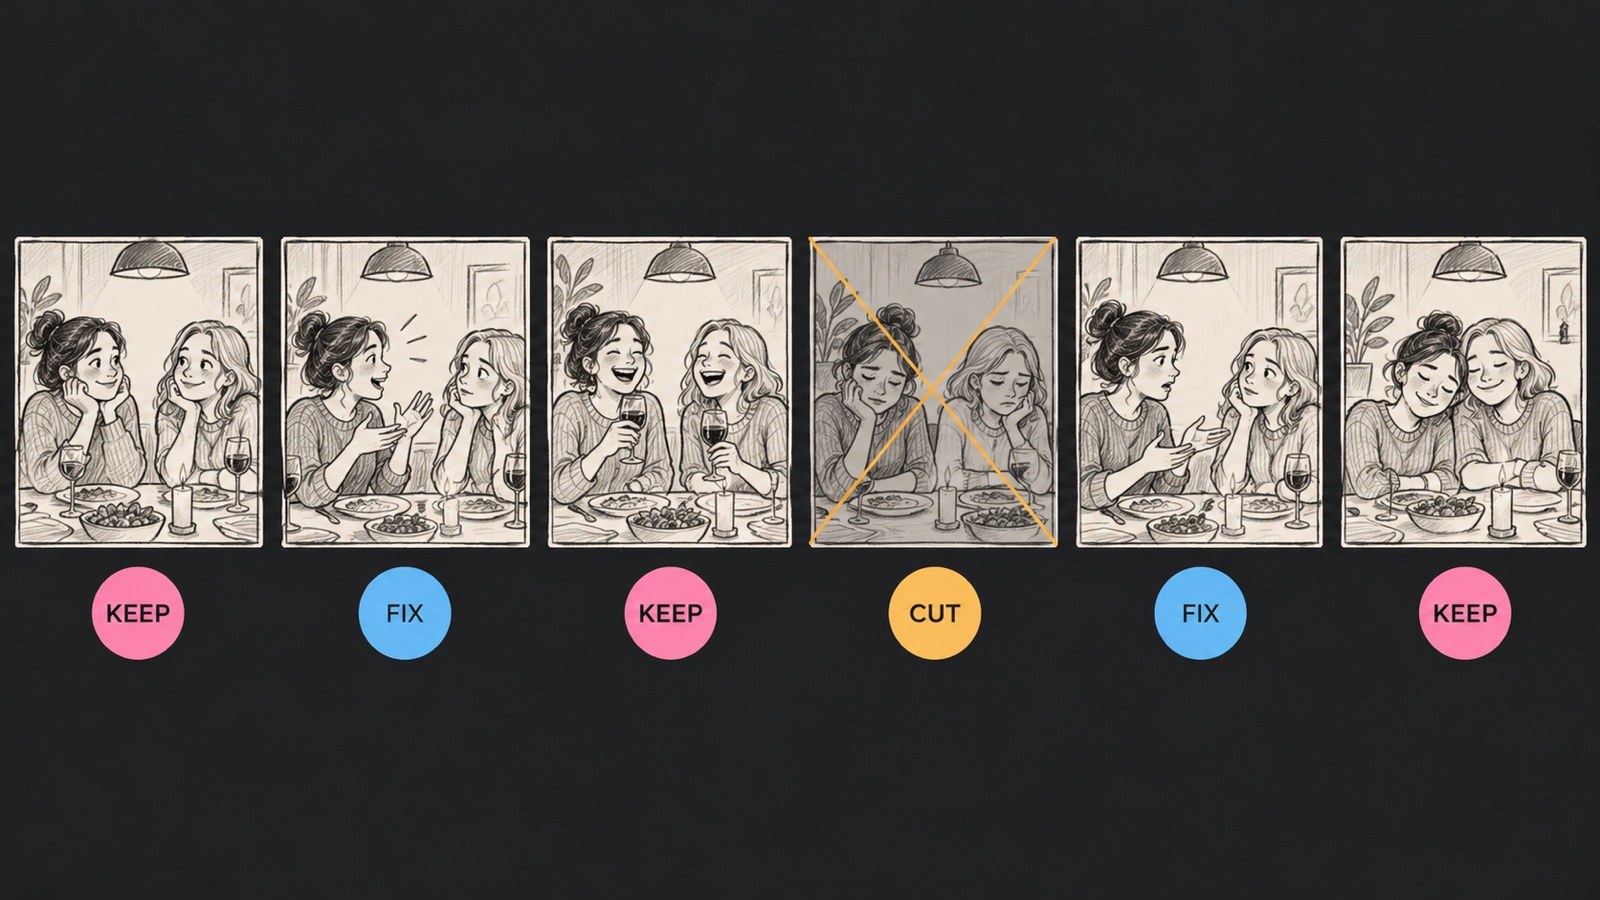 Storyboard frames marked keep, fix or cut during review.
Go through the storyboard in order, without playing anything. For every scene, ask:
- Can I tell where we are? If the first frame does not set the place, add a wide shot.
- Can I tell who is speaking? If two characters look alike in a frame, fix the frame.
- Does the scene change something? If the last frame looks like the first, the scene has no turn.
- Does the last frame lead into the next scene? If not, the cut will feel abrupt.
Mark every frame as keep, fix or cut. Fix or cut before you make any video.
6. Connect scenes with first and last frames
Continuity is what makes a series feel like one show. Drama Studio lets you pick a first and last frame for a scene, so one shot carries into the next. Use this where it matters most: a character walking through a door, a hand reaching for an object, a look that stays on screen after the line.
7. Turn approved scenes into video
When the storyboard looks right, generate the scene as video. This is the point of storyboarding first: you can fix a scene before you spend credits on its video. Drama Studio also shows the credit cost before you create, so you decide whether to go ahead.
If you want to see how a whole script becomes a video, read our script to video AI page. If you are making a series, our guide to making an AI drama series covers the episode-level planning.
A short example
Take one scene: two sisters at a dinner table, and one of them has just realised the other lied.
- Shot 1, wide: the dining room, both seated, a full table between them. This tells us where we are and how far apart they are.
- Shot 2, close on the first sister: she puts her glass down. This is the moment she decides to speak.
- Shot 3, close on the second sister: she does not look up. Her silence is the answer.
- Shot 4, detail: the ring on her hand. This plants the object the next scene will turn on.
Four shots, one change, and a last frame that leads into the next scene. If a storyboard for this scene came back with ten frames of people sitting at a table, the fix would be to cut, not to add.
8. Common mistakes
- Too many shots for a simple scene. Two people talking rarely needs ten frames.
- No establishing shot. Without one, scenes float in space.
- Describing the camera instead of the story. Frames should answer "what changes?", not just "what angle?".
- Skipping the review. The storyboard only saves time if you actually fix what it shows.
How to do this in Wandura
- Open Drama Studio.
- Paste your script, write it in the app, upload a PDF, DOCX or TXT, or start from a sample story.
- Let Drama Studio split the script into episodes and scenes.
- Build your cast so the same characters appear in every frame.
- Review each scene's storyboard sheet and fix what is wrong.
- When the frames look right, generate the scene as video.
You can close the tab while the script breakdown runs: Drama Studio keeps working on its servers. New accounts get free credits, and the first result carries a wandura.ai watermark. For the full tool page, see AI short drama maker.
Once the boards are done, how to turn a script into a video picks up from the same storyboard, and planning a 90-second episode shows where each board lands against the clock.
Frequently Asked Questions
How do I storyboard a script with AI?
Break the script into scenes, list the shots each scene needs, generate one frame per shot with your characters kept consistent, review the frames, then turn approved scenes into video. In Wandura, Drama Studio does this from a script you paste, write or upload.
What should each storyboard frame show?
Where we are, who is in the shot, and the one thing that matters in that shot. If a frame cannot answer "why is this shot here?", it probably should be cut.
How many shots should a scene have?
As many as the scene needs to show who is there, where they are and what changes. A short dialogue scene often works with a handful of shots; an action beat may need more. Count the story beats and give each one a shot.
What should I check when I review a storyboard?
Whether each scene sets its place, whether you can tell who is speaking, whether something changes by the last frame, and whether that frame leads into the next scene. Mark each frame keep, fix or cut.
Do I need to storyboard every scene?
Storyboard the scenes where a mistake would cost you the most: the opening, the turn and the ending. Simple connecting scenes can be lighter, but the more shots a scene has, the more a storyboard helps.
What is the difference between a shot list and a storyboard?
A shot list is a written line per shot. A storyboard shows each of those shots as a frame, so you can judge the scene by looking at it instead of imagining it.
Keep reading

How to Keep a Character Consistent in AI Video, Shot by Shot
How to Make a 30-Second AI Horror Film: Silence, Knock, Choice
Start creating with 70+ AI models
One account, one credit balance, every model. Pay only for what you generate.
See pricing